Friday, May 31, 2013

Raspberry Bushes

I'm so excited about my raspberry bushes! They are really starting to grow :) Three of the five have large leaves already, and the other two have buds that promise leaves soon!! 

What they looked like Early May

What they look like now...

What I hope they look like soon! (Neighbor's 3 year old bushes)


Tuesday, May 28, 2013

Sheep Shearing May 2013

What a strange spring we've had here in Wisconsin. Normally my sheep get sheared in April but this year it was too cold so we decided to wait till the end of May. The end of May was almost too cold! My sheep and Gracie the llama all were sheared on Saturday by Dylan Weaver. It was the first time he sheared my sheep and he did a good job. He doesn't like llamas! I told him we had Gracie the llama to guard the sheep and I added we could have a donkey instead. He told me he wished we would have had the donkey!


We were expecting Dylan around 2:00 and he called at 12:15 to say he was on his way! We had to get the sheep locked up in the barn so he could grab them to shear them. Things didn't go so well! The sheep are pets but they get concerned when both Randy and I show up! I had them munching on grain and when Randy went to shut the gate they all took off. Just about then Dylan arrived! I managed to get Gracie on her lead and took her inside the barn. Randy had let Lucy the dog out and she decided to stand near Gracie.  Lucy is a toy Australian Shepherd and she is a whiner! I don't know if Gracie stepped on her, looked at her or just got too close, but Lucy decided it was time to cry! We have a gate that folds down and keeps the girls inside the barn. We folded it half way down so that the sheep could still come in. Since we weren't having much luck getting the girls in the barn, Randy and Dylan went to his next stop, shearing Flower the sheep. Gracie and I went for a walk and put Lucy in the house. By the time we came back the sheep were back in the bar eating grain and I was able to fold down the second half of the gate, securing them inside. We were finally ready to shear!


 When Dylan sheared the sheep he started with the belly wool (which is normally very dirty and you throw it away) he would throw that over the gate to me and as he finished shearing each girl he handed me the fleece.  I was able to "skirt" the fleece (pull off the gross stuff) and have it ready to go to the mill while he sheared the next sheep. Watching sheep get sheared is very interesting but it's hard for me to see them get nicks. It always happens, just like when you shave your legs! 


I was able to talk Dylan into shearing Gracie, she has a nice new haircut and I didn't get a picture of her after being sheared. The girls spent some time in the sun yesterday and snuggled together in the barn last night and today. The weather is supposed to get better this week so they will be comfortable.


The best part of this years shearing: although I know there are bats in the barn and I could hear them every so often, none of them flew around in the barn!


I'm going to mix this year's fleeces with last years and take them to Black Berry Ridge to have it made in to yarn. You know you can never have too much yarn! I also have a few ideas for the llama fleece. I've only processed one year of Gracie's wool but I think I might get it turned into pencil roving to use in weaving rugs.


Monday, May 27, 2013

My Favorite part of Spring

When these get to blooming, I know it's springtime, and just looking at them can make me happy! The smell isn't half bad either...  ;)


Beautiful Lilacs

Saturday, May 25, 2013

Etsy Weekends - Turquoise Earrings

I love jewelry. My biggest problem with jewelry however, is that I tend to wear the same stuff every day. And when I say stuff, I mean, the same set of earrings I've worn since I was 15, and the same necklace I've worn since I was sixteen. When I wear my watch (another piece of jewelry from high school) and rings, they are also always the same. The thumb ring is from high school, the Tanzanite ring from middle school, and the College Class ring - the newest addition, is from 2008! 


I dream about expanding my collection, I actually have a pretty decent sized grouping of jewelry already, but I always stop myself, worried that the new item will never make it into such a difficult rotation. Here for Etsy Weekends are some turquoise or blue earrings I would love to own!!

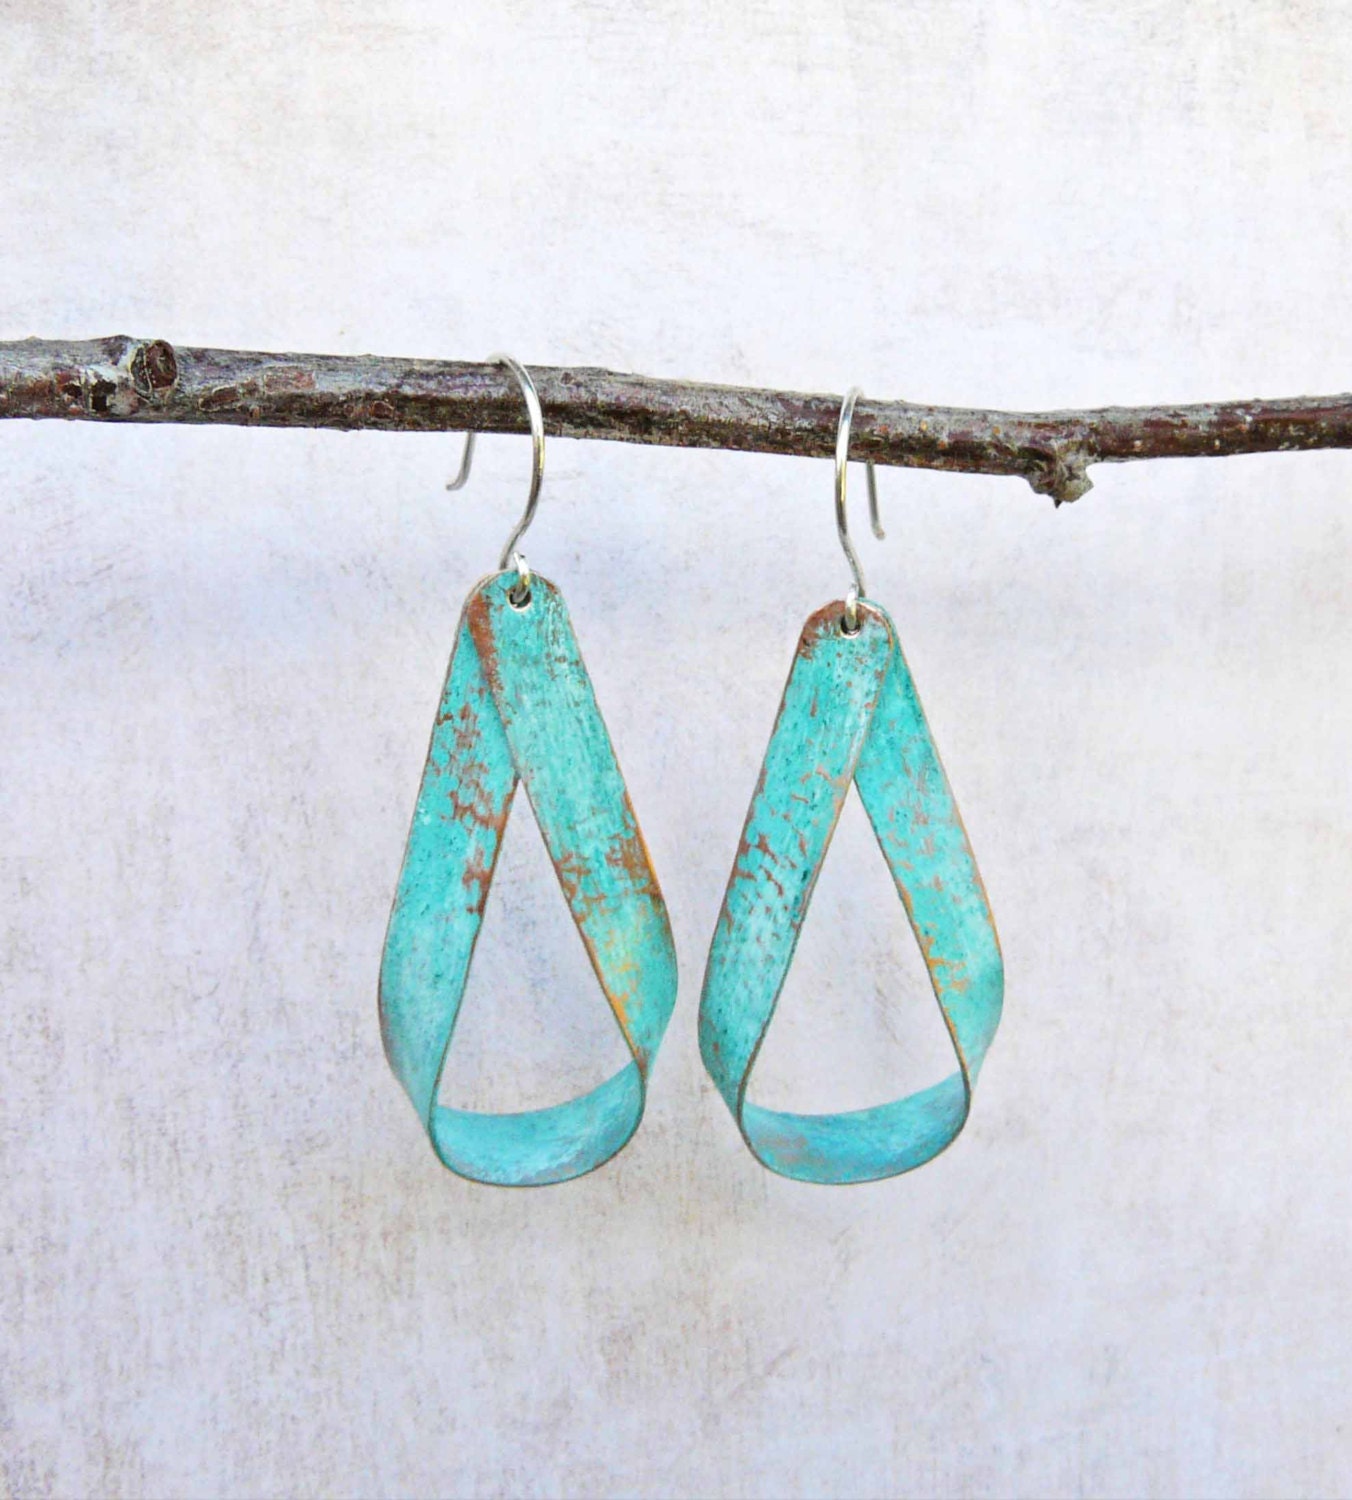
Turquoise Patina Hoops from Oodalolli          Silver Swinging Stone Earrings from String of Blue
Artisan Brushed Silver Swinging Hope Stone Earrings stringofblue


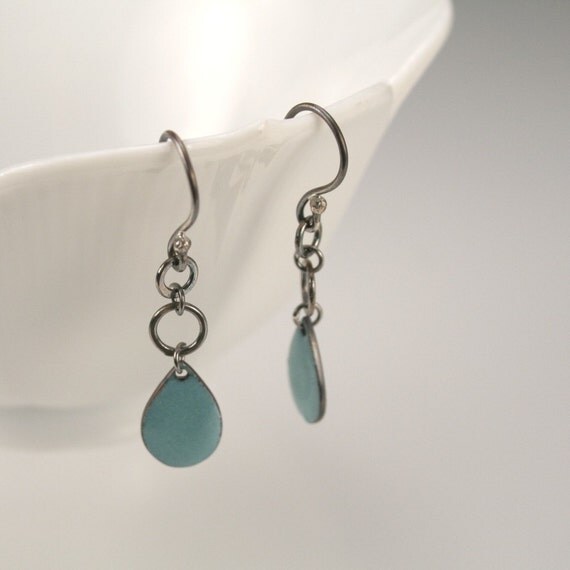
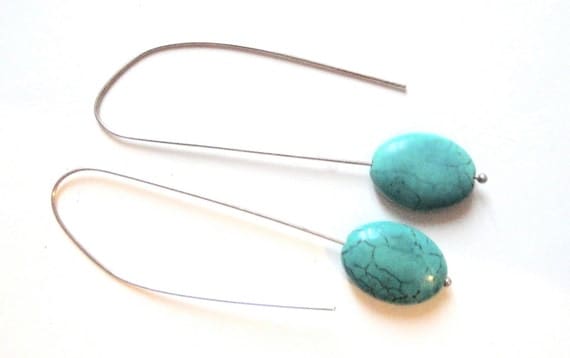
Turquoise Sterling Silver Earrings from Sweet Lake Jewelry                  Bijou Drops from Metallove

bijou drops
turquoise streling silver  long dangle earrings-  semi precious stones- gemstone jewelry - blue jewels for her-woman/girl/teen


Join us next weekend to see what treasures we have found on Etsy!!

Thursday, May 23, 2013

Feral Cat Coalition of Oregon - FurBall

This year we donated six mice to the FurBall put on by the Feral Cat Coalition. 

This is what we heard back:

...we had a record attendance (more than 300 guests) and raised more than $130,000! These funds help us continue to provide donation-based spay/neuter services for stray and feral cats in Oregon and SW Washington. We included your donation in one of our fun cat packages, which went for around $200.

Yay us! Yay Feral Cat Coalition of Oregon!! We like to help this organization because our sweetie Norman came from Oregon. He was a feral cat who was picked up by Catlink in The Dalles. :)


Tuesday, May 21, 2013

Snake Giveaway Winner

In first place winning a Gray Rattlesnake is Lu Ann S! The second place winner of a Purple Viper is Danielle M! In third place winning a Black Viper is Sophia P! Prizes will be mailed by early next week!

Thank you for all who participated in our very first giveaway!! Woohoo!! Come back for more in the future!

Really wanted that snake but missed the deadline? They are still for sale in our Etsy Shop!

Just for fun, here are some pictures of kitties playing with toys. :)


Sunday, May 19, 2013

Etsy Weekends - Coasters


Welcome back to Etsy Weekends!

While trolling Etsy this week I came across the cutest Coasters, perfect for our households! (By that I mean I found a set for me and a set for Mom!)

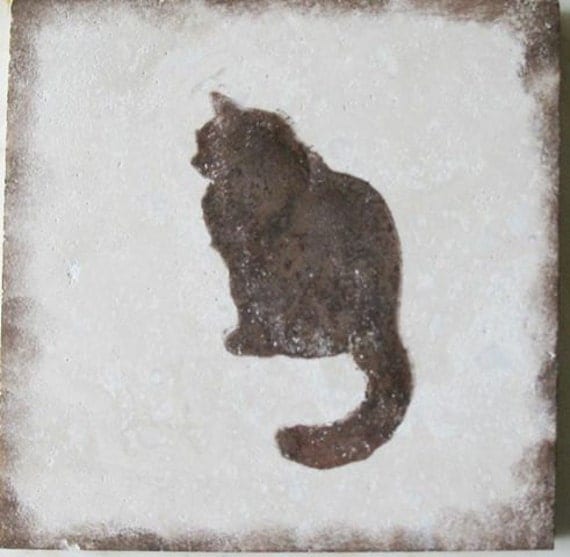
Long Hair Cat Cat Breeds Coasters


Australian Shepherd Coasters
and
Long Hair Cat Coasters

by Serendipitini Pets

Friday, May 17, 2013

Green Gold

We bought a lawnmower with a mulching function this year. I got to get out and use it for the first time this week and realized I didn't set it up right! I pulled off the mulch bag to find it was empty, but I found some green gold when I flipped the mower upside down...I carefully cleaned out this green gold and tossed it in my composter (also new this year), where it added some much needed green coloration!!


The lawnmower is electric, and works beautifully!! So much better than the reel mower we used last summer - although the workout was nice, the tough grass in our lawn was a bit more than I could handle! So far I only have one complaint about the new mower, and I have no one to blame but myself, I couldn't mow the whole lawn because my extension cord is nowhere near long enough!!! I can't wait to get the longer cord and collect more grass clippings for my compost! :)

Wednesday, May 15, 2013

New Cat Toys - Snakes

A few months back someone asked if I make cat toys that look like snakes. At the time I had never even given it much thought, we made mice and had over the years tried making fish toys or cat shaped toys for dogs, but had never tried snakes. Matt and I got out some paper and with his help I designed two different snake heads, the rattlesnake, and the viper! Both snake toys can be found for sale in our Etsy Shop: Rattlesnake or Viper.
Rattlesnake
Viper


Rattlesnake Head
Rattlesnake Body

Viper Head


Viper Body


Over on our Facebook page we are doing a giveaway to celebrate the new toys! Just comment where prompted on which snake shape you prefer, and in what color you like the snakes. Next Tuesday, May 21st, I will randomly draw a winner who will receive their snake of choice! The winner will be notified by Facebook and will be revealed both here and there next Tuesday, May 21st. Get your comment in by Midnight Monday to be entered in the drawing!

I will be using random.org to enter the names of all the entrants, it will then give me a winner from the list I input. Immediate family members will be ineligible for winning, but their feedback would be appreciated :)

Monday, May 13, 2013

Fiesta Ware

How did I become hooked on Fiesta Ware?!  About a year ago I decided maybe it was time to change out our old Corelle dishes. We bought our current set of dishes in 1992 (twenty years ago!) and over the last few years we noticed that the pictures were starting to fade, and I couldn't find any replacement dishes. Then I discovered Fiesta Ware but couldn't decide on a color. While I was mulling it over we happened to visit our friend Thomas who had just purchased Fiesta Ware!  He had a serving set in every color and I thought that was a great idea! That evening I talked to our oldest daughter Becky about Thomas's dishes and she told me that she had some Fiesta Ware, her husband had purchased it in West Virginia at the factory outlet store. The search began!  I found the factory, it is called The Homer Laughlin China Company. They are located in Newell, West Virginia. 

In October, we took a trip from Wisconsin to Elizabeth City, NC to visit our eldest daughter and her family, with stops along the way to visit friends in Pennsylvania, and Washington DC. Newell, West Virginia was only a little out of the way! We drove along the Ohio River and the sights were both beautiful and sad. Lots of river towns, some looked like they had been mill towns and the mill had closed and  people were left without an income. The images we saw on our trip, including a visit to the Gettysburg Cemetery, inspired stories about the people who lived there that maybe someday I'll set down on paper.  


On my quest for Fiesta Ware I discovered a few things. I had originally thought it was only antique dishes but  they are still being manufactured, and they have always been made in the United States. I'd always heard about the antique dishes and didn't know you could still buy them new!   
Here's a picture of me outside the factory


 Here's some pictures taken inside the outlet


By the time we were done I had filled four huge boxes of Fiesta Ware. When we put them in the car, you could see it sink a bit from the weight! It was worth hearing about how much room my dishes took up for the rest of the trip. I'm ready for another trip to West Virginia or maybe I'll start to pick up some of the serving pieces locally!


Fiesta Ware is sold in lots of stores and on websites.  Here's a couple of links to find out more about the Homer Laughlin company and about Fiesta Ware.  They have a new color and it is Lapis! Homer Laughlin China Co. and the Fiesta Factory's Website. Also, this is not a paid advertisement, we genuinely love this product and wanted to share our love with you! 

Saturday, May 11, 2013

Etsy Weekends - Yarn

Like most knitters I have a problem with yarn. One day I'll have Pam describe her yarn stash, and then mine won't sound so bad! When we looked at our current apartment I made the decision to move in the second I saw the closet in what would become our second bedroom. It is a little room with rails on two sides of the walls and a shelf on top of the rails. It is perfect for hanging hanks! We've lived here less than two years and that poor little closet is stuffed to the brim...with yarn, finished products waiting to be shipped to new owners, some of Matt's video game paraphernalia, and an entire wall of fabric to be used for projects I come up with in the future. I've actually been a pretty good girl (read: sooooooo broke) since we've lived in MT and have only added to my stash when Mom sends newly dyed wools and when The Yarn Shop closed and I went a little wild buying closeout alpaca yarn...but that's a story for another day. Even though my little room is so full of stuff that I can't even close the door anymore I can't help but dreaming about filling it up just a little more....
     
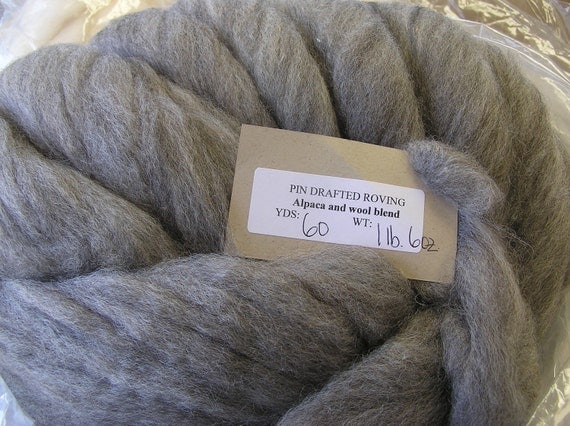
Woolpaca - Natural Alpaca and Finewool Blended Roving - Blanche
Woolpaca from lambkamp
Baby Camel Down Top for luxury spinning
Camel Down from Spinner's End 
mini braid of wool roving
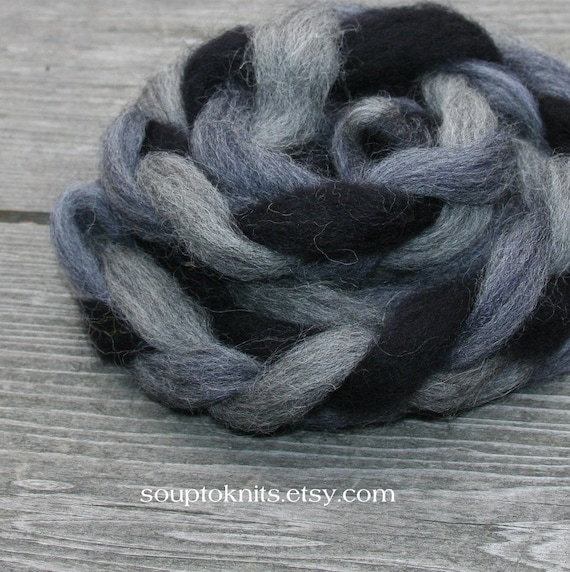
Wool Braid from Souptoknits
                 
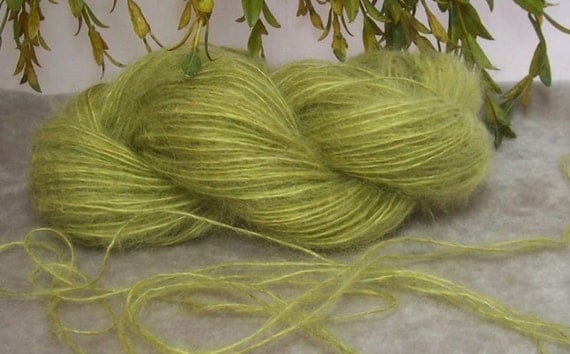
Citrus Lime Green Soft Fuzzy Yarn 150 yards Lace Fingering Weight  B 14
Lace Weight from Recycle&Repurpose

Don't you think all of these would make wonderful additions to any collection? But especially mine? :)

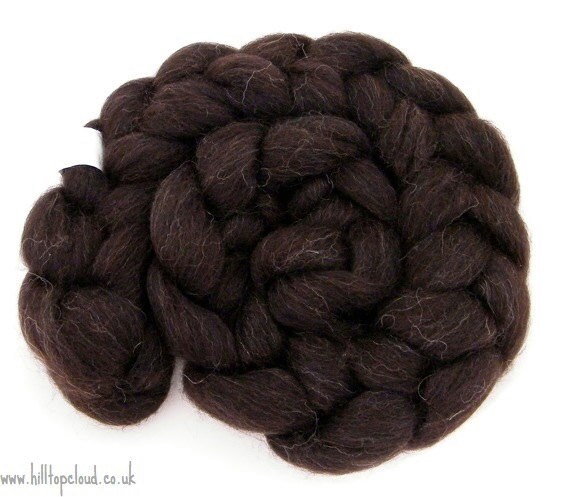
Wool/Silk from hilltopcloud
Hand painted Merino Wool Yarn Lace Weight CALENDULA
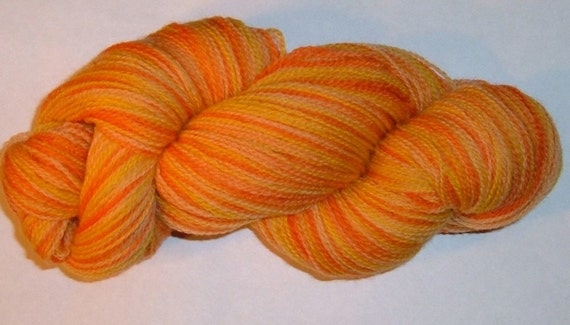
Merino from jirbydesigns

Thursday, May 9, 2013

Crazy Cake

As far back as I can remember my Mom has made a crazy cake for my birthday. It became a tradition that has been hard to continue in the last few years as I moved farther away from my parents. This year, the yearning was just too strong, and I had to have that decadent chocolate on chocolate cake once more. So I made it myself!

Crazy Cake is called that because you do something crazy when you make it - you stir up the ingredients IN the pan!! Crazy right? :) To  make this cake, you first start with your ingredients, then realize you don't have vinegar, panic, and run next door to ask for a tablespoon. Or, you could just gather your ingredients including vinegar because you are a smart person and would never try to make something without first checking that you have all of your ingredients.

Note the lack of Vinegar in this photo....
Then you mix together your sugar, flour, cocoa, baking soda, and salt in your square cake pan - remember this is Crazy Cake! You want to stir it really well, checking the sides and corners. Then make three indentations in the mix - one small, one not so small, and one pretty big. In these you will put your vanilla, vinegar, and oil.

Vanilla, Vinegar, Oil
Next pour your cup of water over the top of the whole mix, again stirring very well, making sure you get the corners and sides. (Mom always made this is in a glass pan so you could easily see if you missed any, but alas I do not have a glass pan...so I just had to check and double check!) Once it is well mixed you can clean up the mess you've made along the top and side of the cake pan - that is if you are like me and have gotten a little excited with your stirring and made a mess to clean up! Then it's ready to pop in your 350 degree oven for the next 40 minutes.

Yummy Cake Batter Goodness
Now you have a cake! The next part is the really super fun part of making this cake, and one of the many reasons I owe my Mother so much...(no third rate nursing home for you Ma!)  The next part of the cake is...cue ominous music...the frosting! Also known as the most difficult and easiest to screw up part of this cake! The frosting is basically fudge, and if you stop stirring too soon, it doesn't set quickly enough and you end up with gooeyness that soaks through the cake. If you wait too long to stop stirring, then it is just a piece of fudge on top of your cake. It's very difficult to find the happy medium where the frosting actually sticks to the top of the cake AND sets up nicely. My sister says she does two batches of frosting and purposefully puts the first layer on too soon so she gets that gooeyness. I suppose if you step back and look at it, it's still chocolate cake with some kind of chocolate frosting, and there's nothing wrong with that!!

So, we start with our ingredients again, and breathe a sigh of relief that we have everything this time...cause by now you really want this cake.


Then you toss in everything but the vanilla, bring to a boil, boil for two full minutes, remove from heat, add the vanilla, and start stirring. You will stir and stir until you think you can stir no more. Then if you are lucky you will hand the stirring off to someone else, say a child who has asked for this silly cake once again and loves to help stir, then you will stir more. (No, really, keep stirring. It needs to be really thick. Unless you want it runny. That's ok too.)


You stir until the frosting is getting thick, then quickly pour over the top of the cooled (by now) cake. Hopefully it will set quickly, and you have yourself a completed Crazy Cake!

I didn't stir long enough. But I still enjoyed every bite!

Now all you need is an ice cold glass of milk, a fork, and place to enjoy your sweet chocolate yumminess.

What else could you want? Knitting, a book, crazy cake and milk!

Here's the recipe in recipe form:

Crazy Cake
1 ½ C flour
1 C sugar
4 tbsp plain cocoa
1 tsp baking soda
½ tsp salt
1 tbsp vinegar
6 tbsp oil
1 tsp vanilla
1 C cold water
Frosting
2 C sugar
½ C milk
1/3 C cocoa
8 tsp butter
1 tsp vanilla

Preheat oven to 350°

In 8 or 9 inch square ungreased pan, mix flour, sugar, cocoa, soda and salt with fork. Make 3 holes in the mixture. Put vinegar in the first, oil in the second, and vanilla in the third. Pour water over the top and stir with fork until all ingredients are well mixed. Make sure all dry ingredients are moistened, check sides and corners. Bake for 40 minutes. Do not remove from pan-let cool.

Frosting: mix first four ingredients, boil for two minutes. Remove from heat. Add vanilla and beat with a wooden spoon until thick. Spread quickly over cake, as frosting will start to harden quickly. If desired, double the frosting.

Tuesday, May 7, 2013

Learning As I Go

And just like that, we're back to my garden!

Hard Lesson learned: Actually research something before you dive in and do it! I know my seedlings need to be hardened off, so I took my Huckleberries out today, I'm hoping to plant them at the end of this week (I know it's really early for MT, but I'm so excited about them and I want them to be free soon!). I also took two rhubarb seedlings out. Then after I found one of the rhubarbs near death (I fear she may have passed already) I did a little internet search. There I learned that Hardening off is a long and arduous process. You can't just set the plants out, there's a procedure to follow!

Plan to harden your plants for the week leading up to planting. Find a nice shady spot for them to hang out in, and set them out there in the early morning so they can adjust to the cooler mornings, then warmer afternoons. At first only leave them outside for a few hours, then over the subsequent days add the time they are outside by one to two hours a day. You also want to be moving them closer to their future home over the course of the week, so that when they go outside for real they are ready for the heat, wind, and rain! Let's hope I haven't killed my huckleberries by setting them out in direct sunlight today!!
I also had good news: that unfocused pinkish protuberance on my raspberry stick is a branch!! Woohoo!! 


In knitting news, I am working on a new cat toy that was suggested by a customer from the Etsy shop. I am making several prototypes (remember my discussion from yesterday, the mice are at least tried and true toys - imagine the rigorous testing I put new toys through!!! These have been in the works since January...) Anyway, once I finish the prototypes (we're on stage two, so hopefully they don't need a stage three!) I will be hosting a giveaway contest! Keep your eyes out for it this summer :)

Happy Tuesday!

Monday, May 6, 2013

How to Graph Knitting Patterns

Over the past year this has morphed into a novice gardening blog, and while I love to show the world what I'm doing wrong with my garden, sometimes it's nice to talk about things I actually know how to do! Like graphing new Mouse patterns! Hopefully knowing my process will also give you insight into why it takes so long to put a new product up on Etsy. I'm like American Car designers...have an idea in 2000, see product in real life in 2012! ;)

First I write a big long list of ideas. Sometimes things sit on the list for years before I do anything, you know, you've got to give an idea the test of time - is it still a good idea three years from now? Sometimes things go on the list and are on the back of a mouse within a week (or a day). While chatting with the boyfriend and friend I decided to do a group of comic book mice (now I'm breaking a personal rule telling you about these mice before they are ready to sell, but hey maybe it will get you more excited for the actual release?) and between the three of us we came up with three different three pack ideas: DC, Marvel, Marvel Groups. Then I go out and with comic book nerdery help find the right image to put on the back of my mice:
Here you can see I picked out an image of the Punisher, then I take pencil to graph paper and start drawing out what I think I can fit on a mouse. Oftentimes I will actually build a square showing the space I have for stitches just to keep myself within a good stitch and row count. I also do my thinking now, plan what row to start the pattern in, how many stitches in, which direction to make the pattern etc. This way it's written down and I will do it the same every time. Or at least that's the idea. It's a good idea to write things down in a way you'll understand a year from now too, the more info the better. Believe me, I've learned that lesson the hard way! 

Next I actually test the pattern. I knit the mouse with the new pattern on the back. It then goes into a bag with other mice waiting to be felted. Once I have enough I do a batch of felting. This process sometimes takes a week to 6 months or longer. Once the mouse has come out of felting I check to see how the pattern turned out. If I don't like it I chart again and test again. (There's actually a new set of "Talking Mice" that aren't ready yet because they are in this stage. Made my P's too pointy dang nab it) Once I like how the felted Mouse looks, the pattern can be transferred to a "Pattern Booklet" which is basically graph paper that I fold in three, then I have room for three - five different patterns, graphs and written directions. If the pattern is really good I'll mark it in Sharpie, like the Peace symbol below:
That's pretty much it. Get an idea, graph it til it looks right, test it, test it again, then get busy making it! Also, feel free to use my (untested) Punisher and Peace Symbol patterns. I figure if I show it to you, it's free game! 

The only bad part about this multi-step process and my knit-pickyness is that my coffee table goes from this:


to this:

(And that's a good day!)

Happy knitting, and feel free to ask any question you have about charting and 'fixing' patterns :)