While cleaning out the closets this year we determined that Matt didn't need half of his t-shirts anymore. Unfortunately, most of them were in pretty rough shape...not donate-able. So I reached far back into my crafting mind and remembered a demonstration Mom and I saw a few years back - turning t-shirts into yarn! I sorted through Matt's shirts for the good ones, and got out my scissors. Now I have two bags of tarn and a stack of fabric to be upcycled into something soon.
If you too would like to tarn, here's a quick break down!
Start with a shirt that has no side seams. If you don't mind having a bump then use ones with side seams too - personal preference is the most important part of tarning! You will only be using the shirt up to the armpits, so feel free to cut off that part before hand. I usually cut it at the end, just so I have a wider swath of fabric to stretch across my knees...since I cut them on my lap like a weirdo.

First shake the shirt out to get it evened up and flat, then cut off the bottom band. The shirt should look like this:

Next start cutting strips across the shirt, making them as thin or thick or thin and thick as you like! You need to lave about a half inch of uncut fabric on one side however, as this is how you keep it all in one strand like yarn!

Once you've cut up to the armpits, we'll go back and cut across the strips, creating a continuous strand.

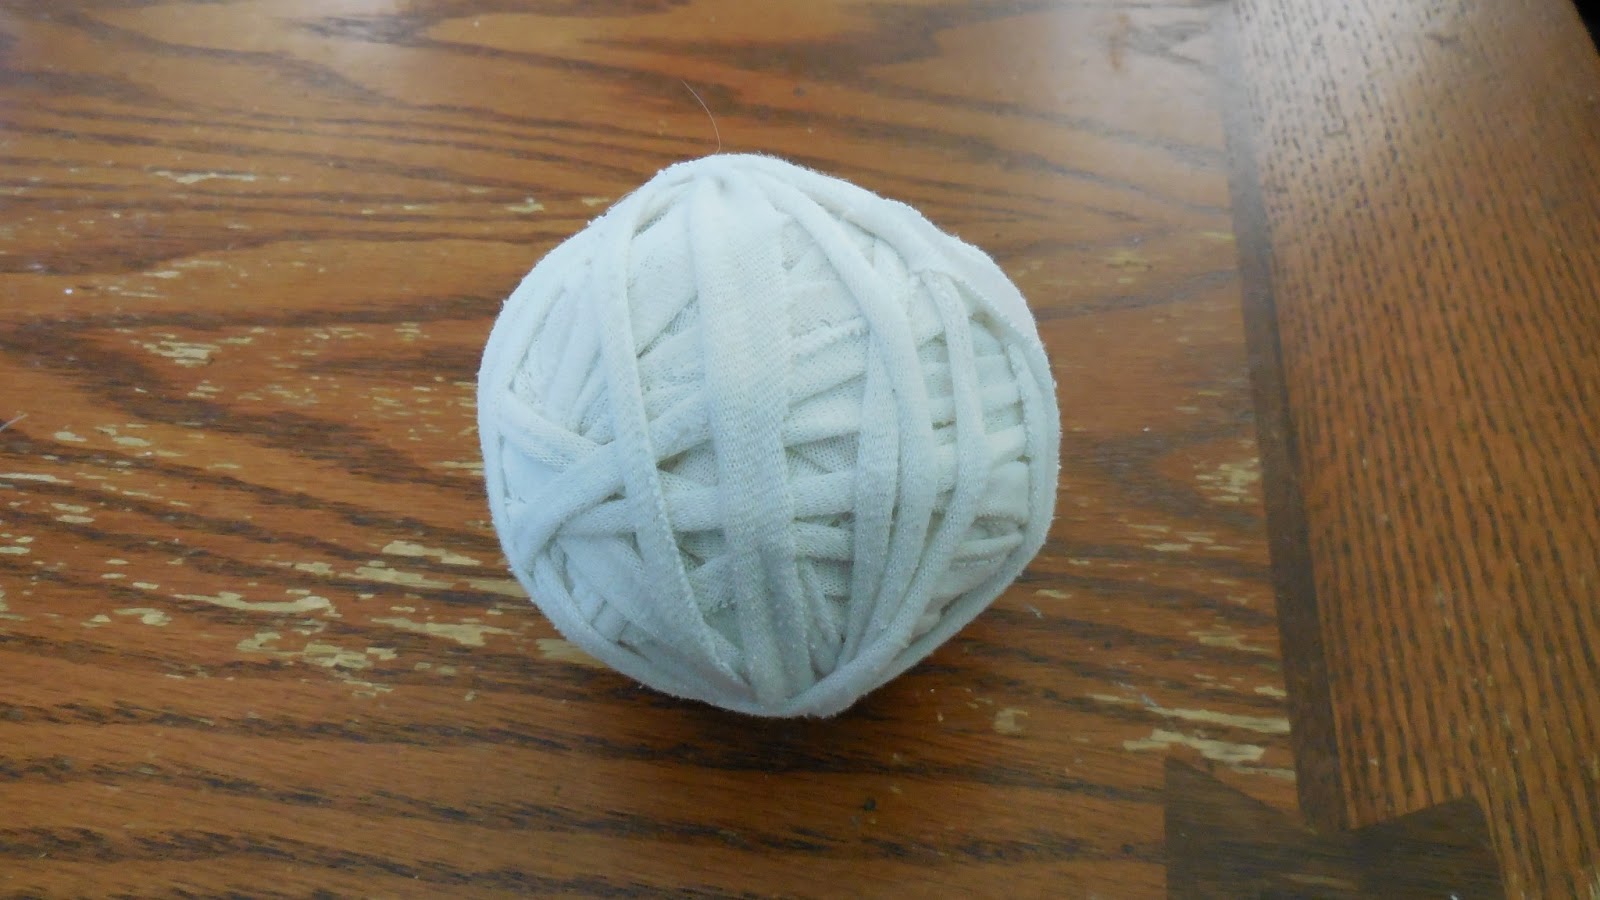
 Cut up to where you've met the armpits, and you now have a string that can be rolled into a ball!

I'm going to make t-shirt scarves with all the shirts I've cut up! What would you use yours for? Here are some ideas from Etsy!
If you too would like to tarn, here's a quick break down!
Start with a shirt that has no side seams. If you don't mind having a bump then use ones with side seams too - personal preference is the most important part of tarning! You will only be using the shirt up to the armpits, so feel free to cut off that part before hand. I usually cut it at the end, just so I have a wider swath of fabric to stretch across my knees...since I cut them on my lap like a weirdo.

First shake the shirt out to get it evened up and flat, then cut off the bottom band. The shirt should look like this:

Next start cutting strips across the shirt, making them as thin or thick or thin and thick as you like! You need to lave about a half inch of uncut fabric on one side however, as this is how you keep it all in one strand like yarn!

Once you've cut up to the armpits, we'll go back and cut across the strips, creating a continuous strand.


I'm going to make t-shirt scarves with all the shirts I've cut up! What would you use yours for? Here are some ideas from Etsy!
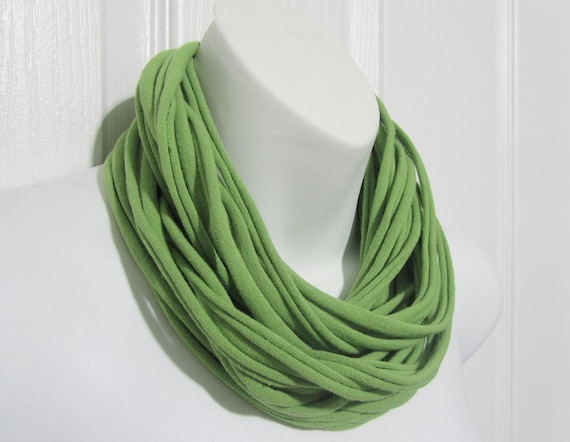 |
| Infinity Scarf |
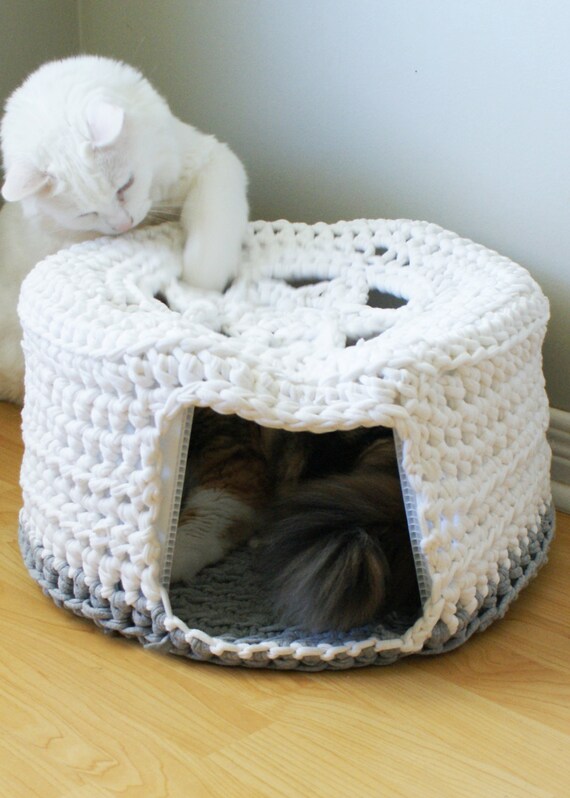 |
| Cat Bed |
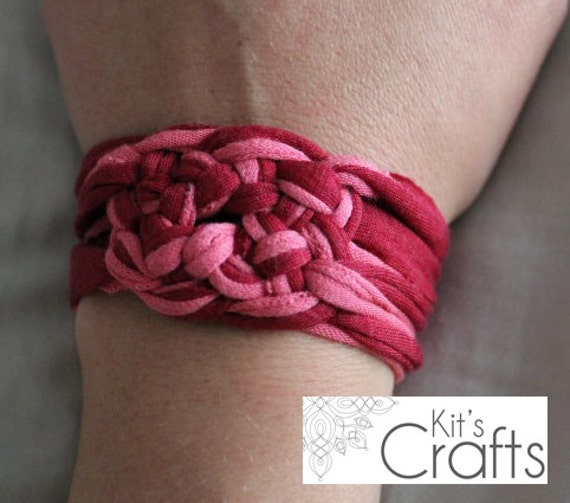 |
| Bracelet |
No comments:
Post a Comment